



Wiki / Poster templates
Make your first template
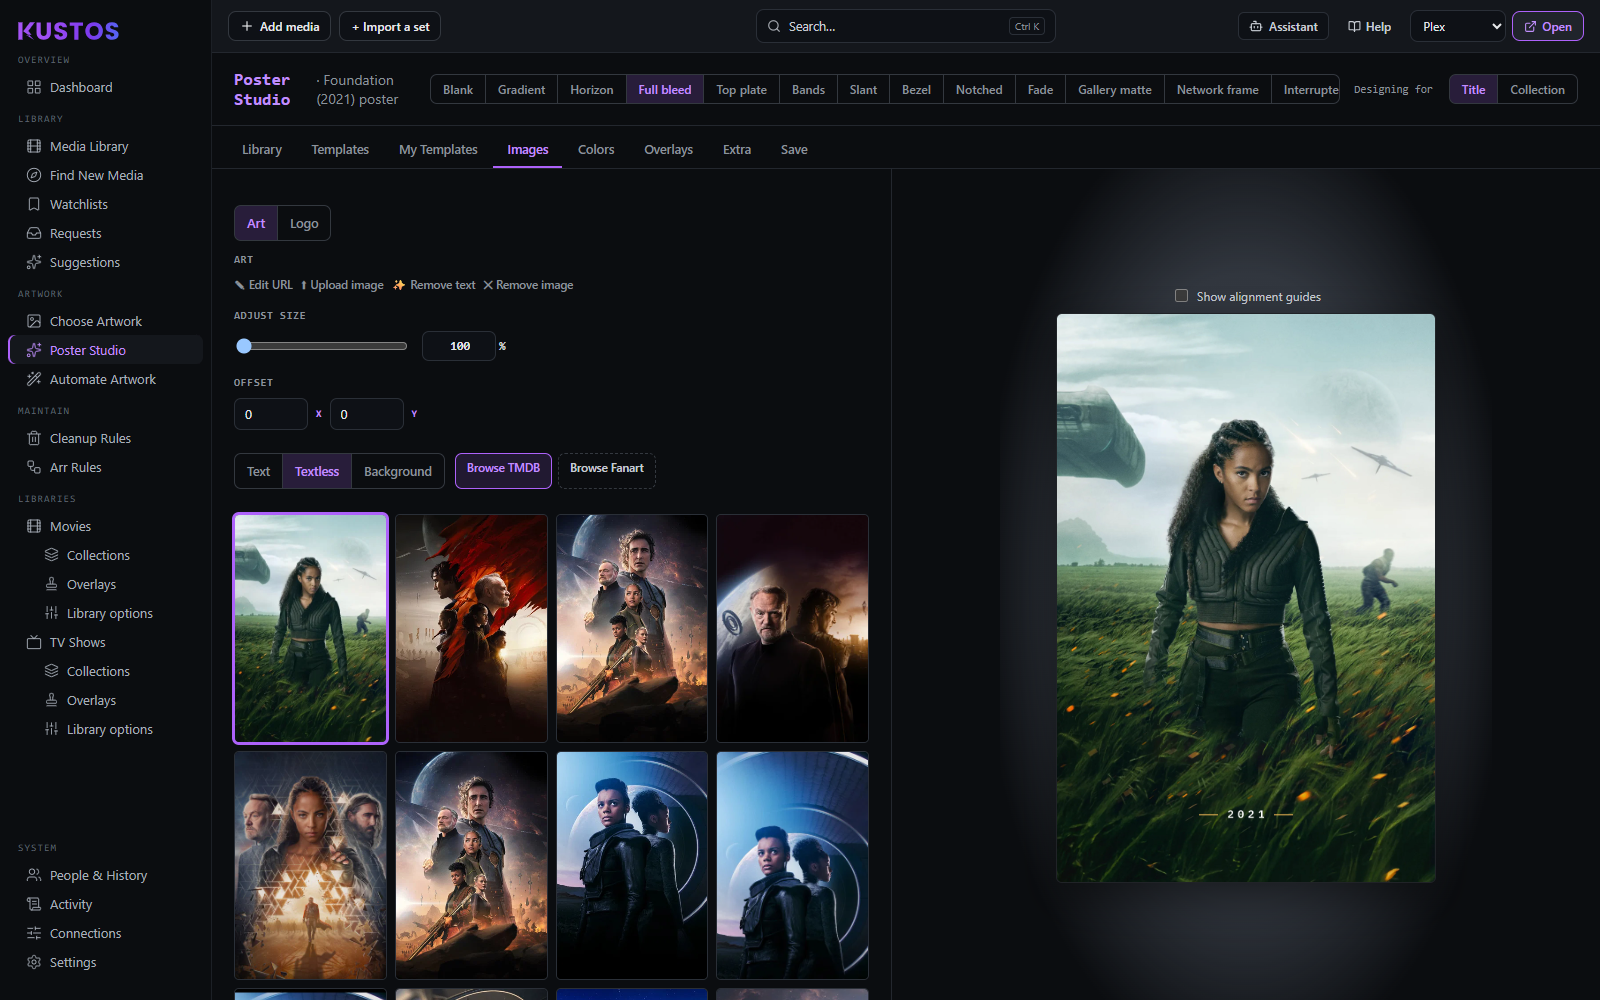
- Pick a title to design against. Poster Studio → Library. Design against a real title rather than a sample: sample mode can save a template but cannot apply one, and you cannot judge a layout against art that is not your library's.
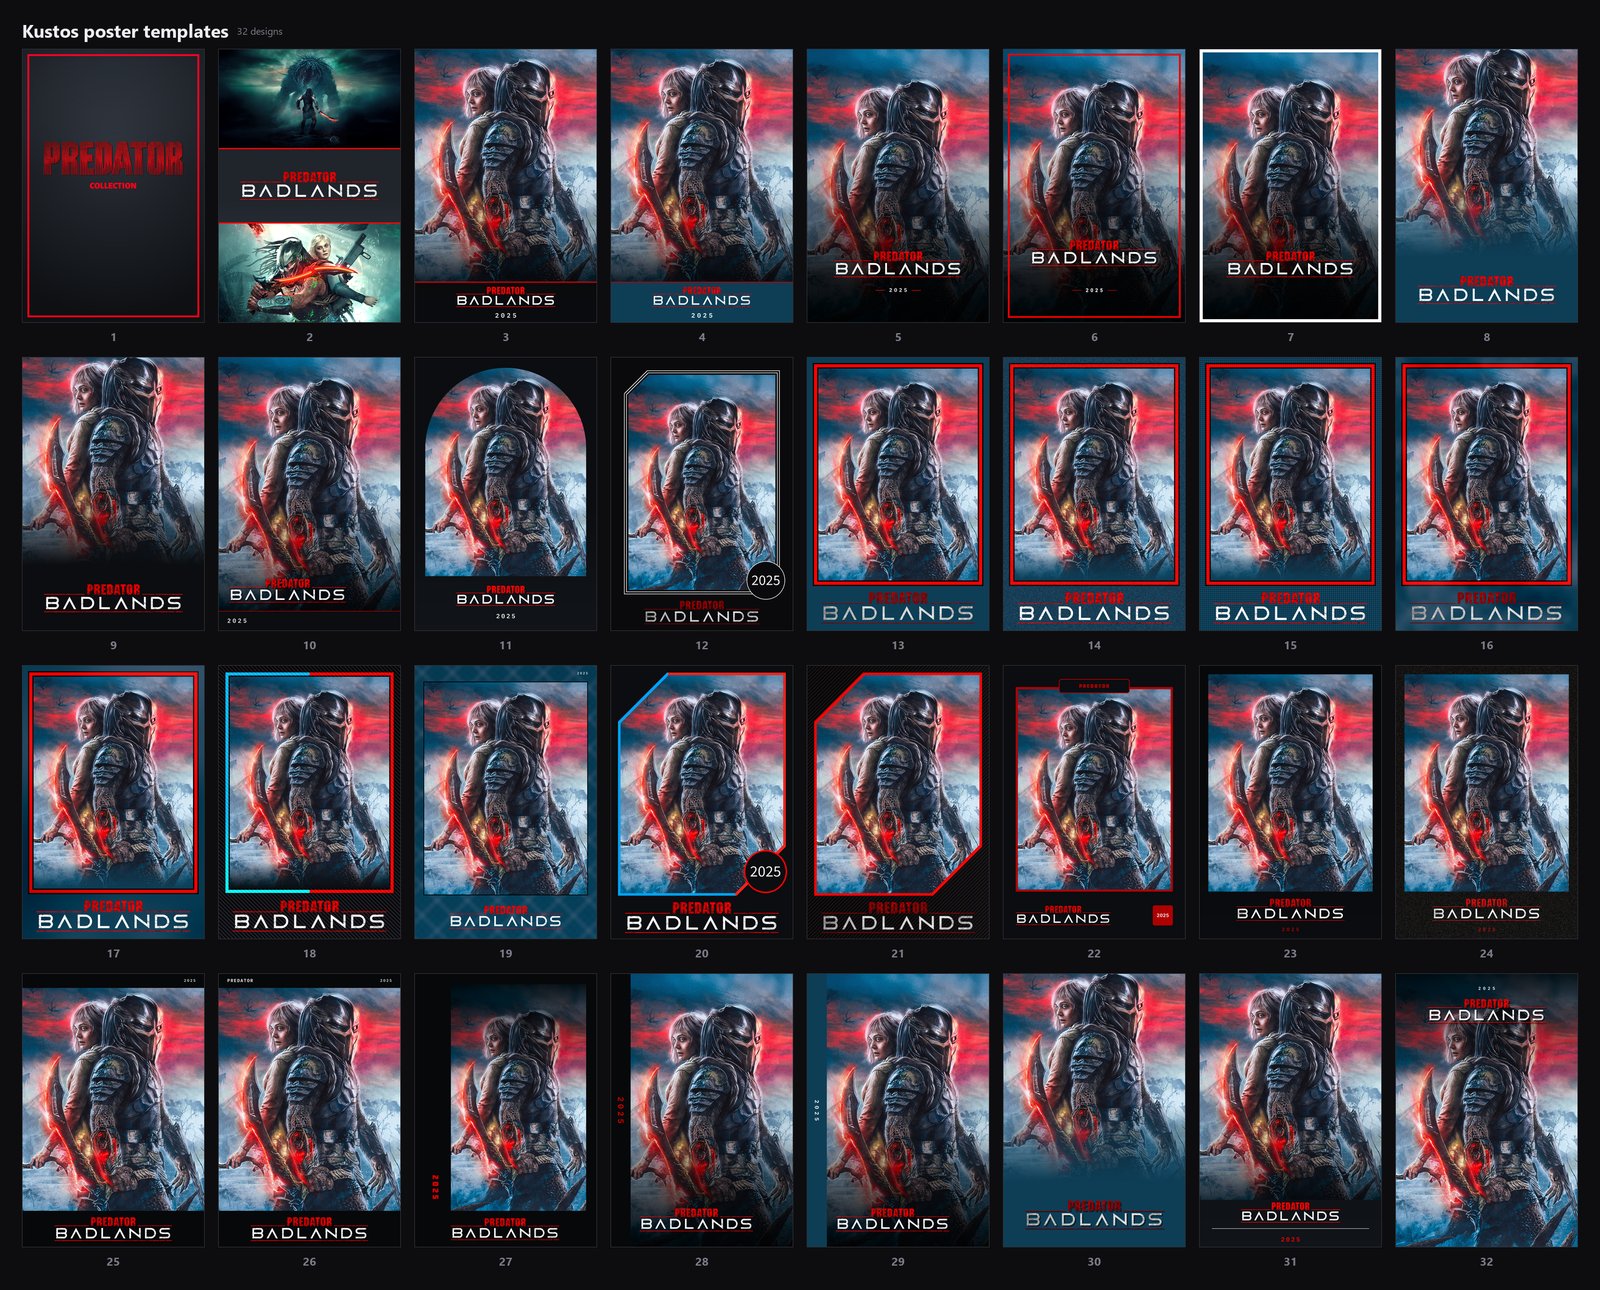
- Pick a base design. The row across the top, grouped so the near-identical ones sit together: Blank, Gradient, Horizon, Full bleed, Top plate, Bands, then the framed ones — Slant, Bezel, Notched, Fade — then the mounted ones — Gallery matte, Network frame, Interrupted rule, Arched window — then the ones with a band: Bottom band, Network footer, Stacked lockup, Header strip. Spine and Offset frame are last. That row scrolls. Your own layout is not in that row. It is a switch, My template boxes, on the Overlays tab, offered on Blank, Gradient, Horizon, Top plate and Full bleed. It is not a design you pick: it sits on top of the design you are on and lets you draw the poster, logo and network boxes yourself. Gradient draws no artwork. It is a colour plate with a logo, so its Images tab offers only Logo and Network. Every other design has an Art zone there, and that is where you choose the art.
- Work through the tabs, left to right. Each is described below.
- Save it — the Save tab, or Save current poster as new template.
- Give it rules — My Templates. Until you do, it is a saved design that applies to nothing.